
Developing in a Virtual Environment
Quite a lot of developers use Anaconda. It is your choice to use Anaconda or not.
However, whichever method you use for your developing environment, I personally recommend using Virtual Environment.
Virtual Environment is really famous especially for python developers, because pip supports virtual environment tool.
What is a Virtual Environment?
Its name looks like it is very complex concept, but it is not.
Virtual Environment is a tool to keep the dependencies and libraries required by different projects in a separate space.
So usually you set up a virtual environment for specific projects that needs special dependencies.
For Example, when i was using Tensorflow 2.0 beta version, since 2.0 beta did not support python 3.6, I had to set up a
virtual environment that has TF 2.0, python 3.6 and all the other dependencies inside.
(Now Tensorflow 2.0 stable version has released, and they support python 3.7 as well).
So how do you do this?
Creating Virtual Environment
First, let’s check if you have recent version of python installed.
On your terminal type:
$ python3 --version
It should be 3.4 or later.
Second, install virtualenv tool via pip3
$ sudo pip3 install -U virtualenv
Third, create your own virtual environment.
In my case, I am going to create an environment for TF 2.0 with python3. So for mine, N is 3 and NAME can be tf2.
You can choose whatever name you want.
$ virtualenv --system-site-packages -p pythonN NAME
Fourth, let’s take a look at the newly create file.
Inside the file tf2, file structure looks like below:

And inside the bin:
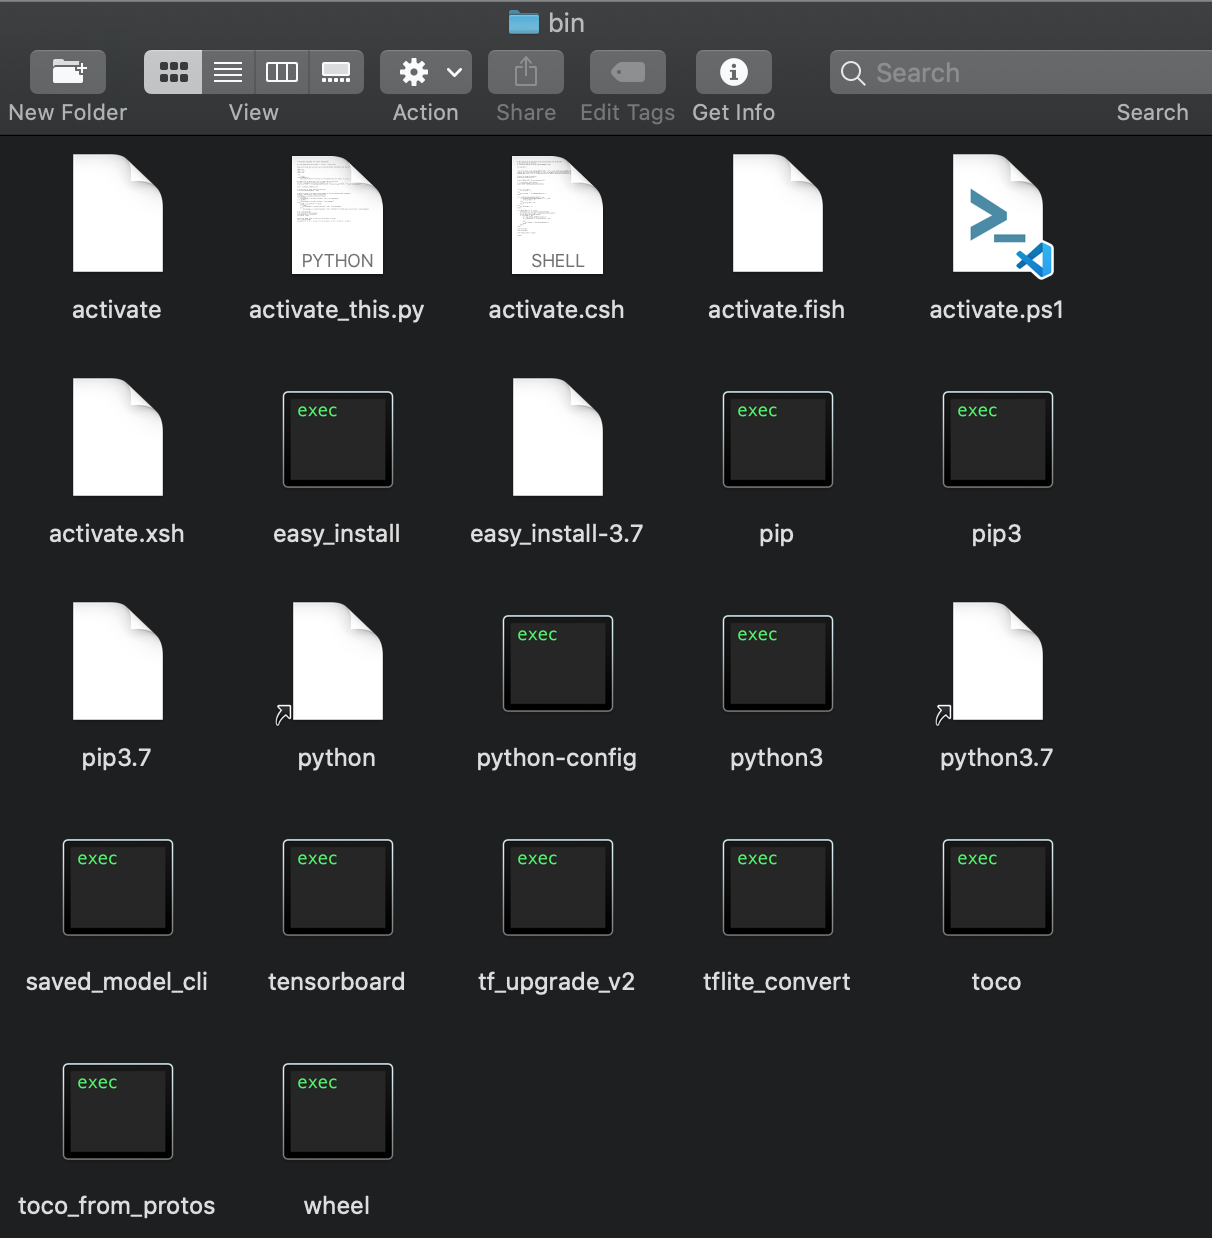
Below is a code snippet of the file activate (not the whole code of course).
tf2/bin/activate:
# This file must be used with "source bin/activate" *from bash*
# you cannot run it directly

if [ "${BASH_SOURCE-}" = "$0" ]; then
    echo "You must source this script: \$ source $0" >&2
    exit 33
fi

deactivate () {...}

# unset irrelevant variables
deactivate nondestructive

VIRTUAL_ENV="/Users/myUserName/tf2"
export VIRTUAL_ENV

_OLD_VIRTUAL_PATH="$PATH"
PATH="$VIRTUAL_ENV/bin:$PATH"
export PATH
Here you can check it is a shell scripted file called ‘activate’. Therefore, according to the comment on the first line,
you can activate this virtual environment by typing source name/bin/activate. In my case it is source tf2/bin/activate.
Fifth, know how to turn on and off our virtual environment
To initiate:
$ source NAME/bin/activate
To deactivate:
$ deactivate
Last, install everything you need in the Environment
Access to your environment and do things you need:
(tf2) $ pip3 install --upgrade pip
(tf2) $ pip3 install --upgrade tensorflow

Leave a comment